

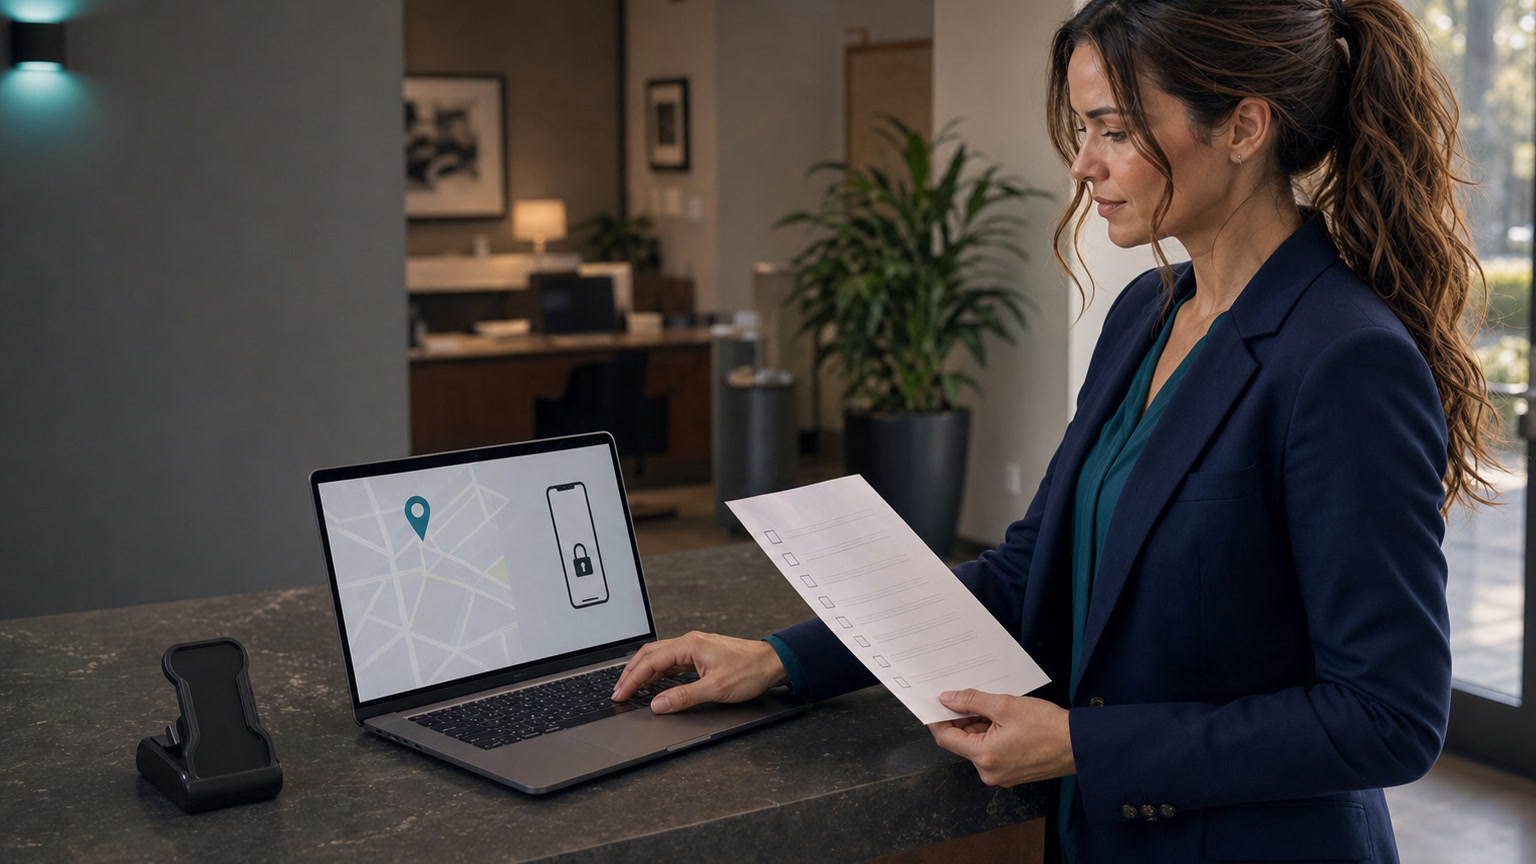
A stolen phone is not just a missing device—it can be a live key to your email, banking, payroll, photos, authentication codes, and business apps. The first hour matters, but speed without the right order can make recovery harder. Use this checklist to lock the phone, cut off the cellular account, protect the accounts that can reset everything else, and decide whether a remote erase is necessary.
The first-hour order
- Get somewhere safe; do not confront a thief.
- Use Apple Find My or Google Find Hub from a trusted device.
- Mark the phone lost or secure it before changing unrelated settings.
- Call the carrier to suspend the SIM/eSIM and ask about blocking the device.
- Protect email, password-manager, banking, payroll, and work accounts.
- Notify the business administrator, insurer, and police when appropriate.
- Only then decide whether to erase the phone remotely.
Who is affected—and who can use a shorter response
Treat it as a high-risk theft if any of these are true
- The phone was snatched while unlocked, or the thief may know the passcode.
- Email, banking, payment, password-manager, authenticator, remote-access, payroll, health, or customer-data apps are signed in.
- Text messages or the phone number can receive account-recovery codes.
- It is a work phone, a personally owned phone with business access, or an administrator’s device.
- The phone lacks a strong screen lock, device encryption, Find My/Find Hub, or recent backups.
A shorter lost-item response may be reasonable when
- You can see the phone in a safe, familiar location, such as your home or a staffed office.
- It has a strong lock and you have no evidence that someone watched or learned the passcode.
- You can play a sound and retrieve it without approaching an unknown person or location.
Even then, mark it lost if you cannot recover it promptly. A location dot is evidence—not permission to confront anyone.
Step 1: Move to safety and use a second trusted device
If the theft just happened, move away from danger. Do not chase the thief, visit an unfamiliar map location, or ask a friend to confront anyone. Apple explicitly advises contacting local law enforcement instead of trying to recover a stolen device yourself when it appears at an unrecognized location.
Use a computer, tablet, or another phone you trust. Avoid a public kiosk. If you must borrow someone’s phone for Android, Google Find Hub offers a guest sign-in path; sign out when finished and do not save the password.
Step 2: Lock and locate the phone
For a stolen iPhone
- Go directly to iCloud.com/find or open Find My on another Apple device.
- Select the missing iPhone and choose Mark as Lost.
- If the phone was stolen rather than merely misplaced, think carefully before displaying contact information. Apple warns that a thief may use it for social engineering.
- Do not remove the phone from Find My. Removing it also removes Activation Lock and can make resale easier for the thief.
Apple says you do not need a verification code to sign in at iCloud.com/find, which is important when the stolen phone was your trusted device. If Stolen Device Protection is enabled, biometric authentication adds safeguards, but Apple still recommends marking the phone lost quickly.
For a stolen Android phone
- Go directly to android.com/find or use the Google Find Hub app.
- Select the missing phone.
- Use Mark as lost to lock it with its PIN, pattern, or password.
- Add a safe return message only when appropriate. Do not expose your home address, primary email password, or other sensitive information.
Google notes that a phone generally needs power, a network connection, a signed-in Google Account, Find Hub enabled, and visibility in Google Play for all remote actions to work. If the phone is offline, leave the command pending and continue with the carrier and account steps.
Watch for the “we found your phone” trap
A thief may text or email a fake location link, pretend to be Apple, Google, the carrier, or police, and ask for your passcode or verification code. Apple states that it will never contact you to say your iPhone or iPad has been found. Open the official locator by typing its address yourself or using a trusted bookmark; never surrender a passcode to “prove ownership.”
Step 3: Call the carrier and shut down the cellular path
Call the carrier from a known official number—not a number in a text message. Ask the carrier to:
- Suspend the SIM or eSIM so the thief cannot keep receiving calls and texted recovery codes.
- Protect the account with a new carrier PIN or other available account lock.
- Check for an unauthorized SIM change, eSIM transfer, number port, added line, or device financing.
- Block the handset by IMEI when supported and tell you what documentation is needed.
- Explain how service will be moved safely to a replacement phone without weakening the account.
Google says a mobile provider can use the device’s IMEI number to disable it, and Find Hub can display the IMEI for supported devices. Apple also recommends reporting the theft to the carrier and suspending the account.
Do not stop after suspending service. Carrier suspension protects the phone number, but it does not sign the thief out of apps that still work over Wi-Fi.
Step 4: Protect the accounts that can unlock everything else
Work from the highest-impact accounts outward. The exact order depends on what was signed in, but this is a practical starting point:
- Primary email: review recent sign-ins, change the password if exposure is possible, sign out suspicious sessions, and inspect recovery addresses and forwarding rules.
- Apple or Google account: review trusted devices, contact information, recovery options, and recent security activity. Follow the vendor’s theft instructions rather than randomly deleting the missing phone.
- Password manager: revoke the stolen device or its sessions. Rotate the master password if the vault may have been open or the thief knew the phone passcode.
- Banking and payment apps: call the institution using the number on its official website or the back of a physical card. Lock cards or wallet tokens when advised and review pending activity.
- Business systems: revoke Microsoft 365/Google Workspace sessions, VPN certificates, remote-desktop access, payroll, accounting, CRM, cloud storage, and line-of-business app tokens.
- Social and shopping accounts: sign out the missing device, change exposed passwords, and check saved payment methods and messages.
If the phone was unlocked when taken, treat notification previews as potentially exposed. A thief may not need to open an app if a one-time code appears on the lock screen.
Step 5: Notify the people who can contain business damage
For a work phone—or any personal phone with business access—contact the business owner or IT administrator immediately. Do not wait until the next workday. Provide:
- Your name, device type, phone number, and approximate time/location of theft.
- Whether it was locked, whether the thief may know the passcode, and whether it was unlocked when taken.
- Which business apps, email accounts, VPNs, authenticators, and password managers were installed.
- What you have already locked, suspended, or changed.
An administrator may be able to quarantine the device through mobile-device management, revoke app sessions, invalidate certificates, preserve audit logs, or wipe only business data. A full factory reset performed too early can remove evidence or interfere with an organization’s response, so coordinate when company data is involved.
Step 6: Record identifiers, report the theft, and start the replacement claim
- Save screenshots of the last known location and the time shown. Do not publish them on social media.
- Record the serial number and IMEI from the vendor account, original box, receipt, carrier account, or device-management inventory.
- File a police report when a theft occurred, especially if insurance, business records, or an unfamiliar location is involved.
- Contact the insurer or device-protection provider and preserve the claim number.
- Write down every containment action and time. Small businesses may need that timeline for cyber insurance, legal review, or customer-notification decisions.
Step 7: Decide whether to erase—do not use it as the first reflex
Remote erase is appropriate when recovery is unlikely, sensitive data is at material risk, or a business administrator directs it. It is permanent and affects tracking differently on iPhone and Android.
Good reasons to erase
- Sensitive customer, financial, health, or administrative data may be accessible.
- The thief likely knows the passcode.
- The phone was taken while unlocked.
- Recovery is unlikely and lock/suspension steps are complete.
Bad reasons to erase immediately
- Panic before marking the device lost.
- Pressure from an unsolicited caller or text.
- A belief that erasing also suspends the phone number—it does not.
- No confirmation that needed photos or files were backed up.
Apple says an iPhone or iPad running iOS/iPadOS 15 or later can still be located after remote erase, but it must remain in Find My so Activation Lock stays in place. Google warns that after an Android device is erased, its location is no longer available in Find Hub; using the phone again will require the Google Account password. These are important platform differences—read the final warning on your screen before confirming.
A realistic example
A small-business owner has an iPhone stolen from a restaurant table. It was locked, but email, Microsoft 365, banking, and an authenticator app were installed. The owner first moves to a safe place and marks the phone lost at iCloud.com/find. Next, the carrier suspends the eSIM and adds a new account PIN. The company administrator revokes Microsoft 365 sessions and the phone’s VPN certificate. The owner then calls the bank, files a police report, records the serial number, and reviews whether an erase is needed. That order reduces both account-takeover risk and the chance of accidentally weakening Activation Lock.
After the immediate crisis: prevent the next theft from becoming an account takeover
- Use a strong phone passcode; avoid short or easily observed codes.
- Enable Find My on Apple devices or confirm Find Hub readiness on Android.
- On supported iPhones, enable Stolen Device Protection and consider requiring the security delay away from familiar locations.
- Hide sensitive notification previews while the phone is locked.
- Save backup codes for important accounts somewhere other than the phone.
- Use authenticator apps or hardware security keys where practical instead of relying only on SMS.
- Keep current backups and an offline list of carrier, bank, business administrator, serial number, and insurance contacts.
- For business devices, use mobile-device management, short auto-lock times, app-level authentication, and a written lost-device procedure.
Frequently asked questions
Should I change my Apple or Google password before marking the phone lost?
Usually, lock or mark the device lost first, then review and secure the account. Random account changes can complicate remote actions. If the thief knows your password, changed account details, or Find My/Find Hub was disabled, follow the vendor’s account-recovery instructions immediately.
Can the thief still use apps after the carrier suspends service?
Yes. Suspending the SIM/eSIM stops cellular service, but apps may still work over Wi-Fi if their sessions remain valid. Revoke sensitive app and account sessions separately.
Should I put my phone number in the lost-device message?
For a misplaced phone in a safe location, an alternate number can help an honest finder. For a confirmed theft, Apple cautions that contact information can be used for social engineering. Do not display the stolen phone’s own number, your home address, a password, or a verification code.
What if the map shows the phone at a house or parking lot?
Do not go there yourself. Preserve the location and time, and provide them to law enforcement. Location estimates can be delayed or imprecise.
What if the stolen phone was my only MFA device?
Use saved backup codes, another enrolled authenticator, a hardware key, or the provider’s official recovery process. Once access is restored, remove the stolen authenticator and enroll a replacement. Do not give a caller a one-time code.
Related practical guides
- Lock your phone number before a SIM-swap scam hits
- Run a 15-minute account-recovery and MFA backup-code check
- Make a backup sign-in plan before MFA locks you out
- Ransomware on the screen? What to do in the first 15 minutes
Official sources used
- Apple Support: If your iPhone or iPad was stolen
- Apple Support: About Stolen Device Protection for iPhone
- Google Account Help: Find, secure, or erase a lost Android device
- Google Account Help: Be ready to find a lost Android device
- Federal Trade Commission: Stolen identity? Get help at IdentityTheft.gov
Your next action
If the phone is missing now, start with the locator and carrier—do not wait for a callback. If the immediate danger is contained but you are unsure which business sessions remain active, contact The IT Guys for help reviewing the accounts and devices that need to be revoked or rebuilt.
Vendor interfaces and recovery options can change. This guide was checked against Apple, Google, and FTC guidance on August 4, 2026. Follow the warnings shown in your current account before confirming an irreversible erase.